
Standing in front of our empty field in early 2023, I felt overwhelmed. My partner and I had just bought the land for Dream Garden, but we had no idea where to start.
The space looked flat, boring, and way too big. Worse, our budget was tiny—no money for fancy stone walls or professional landscapers.

But here’s what I learned: you don’t need thousands of dollars to create beautiful garden borders. You just need some cheap bricks and a clever geometric trick.
This guide will show you exactly how we built hundreds of feet of garden edging for about $50—and introduce you to the supervisor who made it all happen.
The Supervisor: Meet Dudo
Before we start, I need to introduce the foreman of this project.
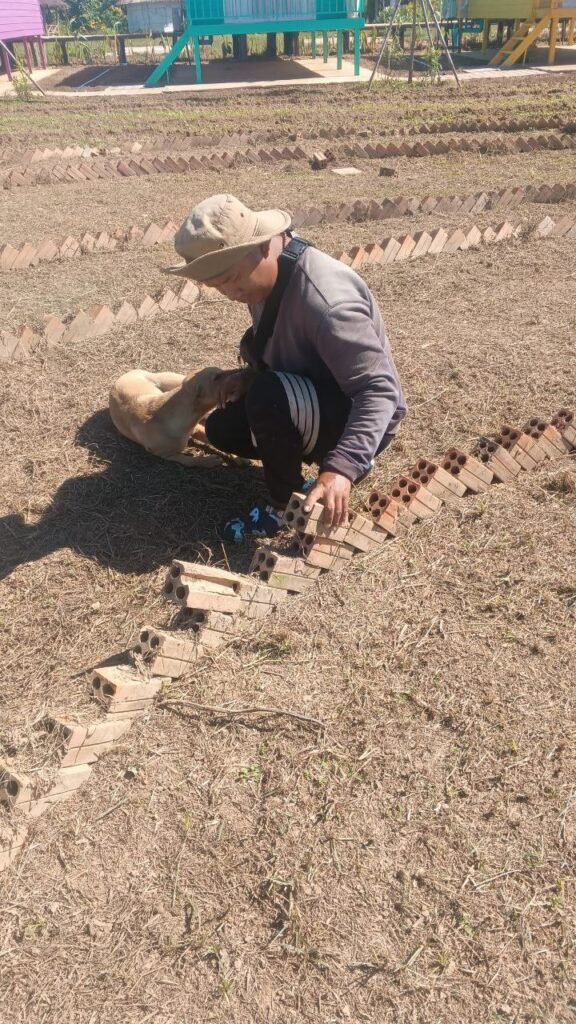
Laying bricks isn’t hard, but it is repetitive. Luckily, I had help. As you can see, Dudo supervised the entire process, mostly by sleeping exactly where I needed to dig. Having a furry companion makes the hot, sweaty work much more enjoyable!
Why the “Zigzag” Method?
Most people lay bricks flat. The problem? If you don’t use cement (mortar), they fall over the moment someone kicks them. If you do use cement, it gets expensive and permanent.
We needed a solution that was:
- Cheap: No cement required.
- Stable: Won’t fall over.
- Flexible: Easy to move if we changed our minds.
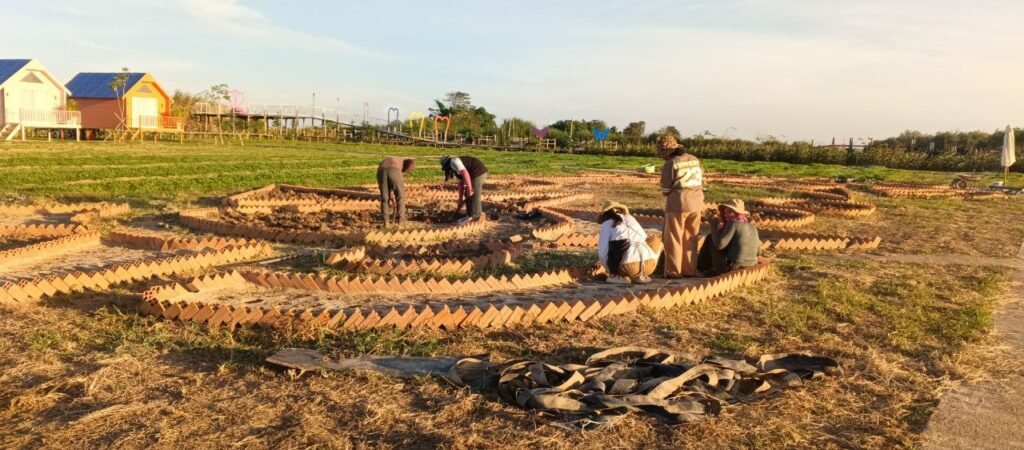
That’s when we discovered the 45-Degree Zigzag. By leaning the bricks against each other, they lock in place. It creates a “sawtooth” pattern that looks expensive but costs almost nothing.
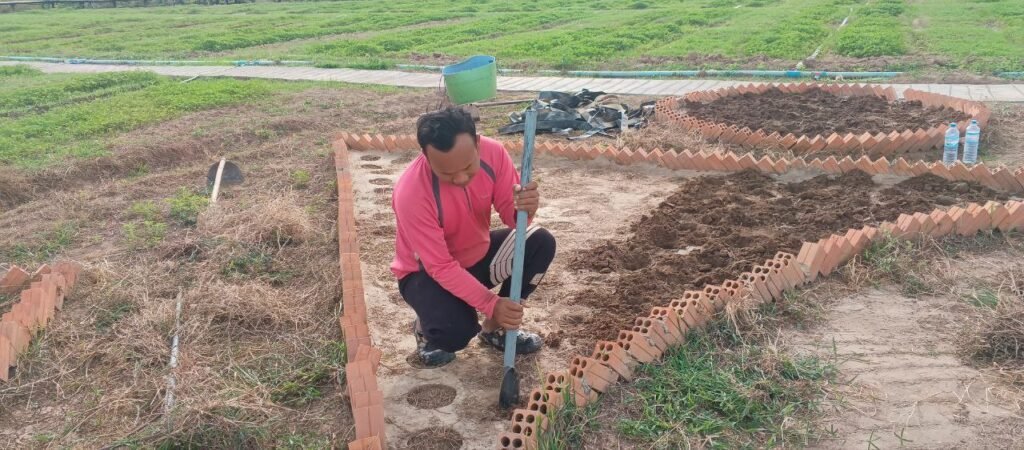
Step 1: The Digging Bar Method
You don’t need a massive trench. In fact, if you dig too wide, the bricks will wobble. We used a heavy steel digging bar to create a V-shaped groove in the soil.
How to do it:
- Mark your line with string or chalk.
- Drive the heavy bar into the ground to create a narrow trench about 3-4 inches deep.
- Keep the soil loose at the bottom so you can wiggle the bricks into place.
Step 2: The 45-Degree Angle
Here is the secret. Instead of laying bricks flat, drop them into the trench at a 45-degree angle.
Lean the first brick against the end of the trench. Then, lean the second brick against the first one, overlapping it by about half. Continue this pattern down the line.
Why this works: It creates a “domino effect.” The weight of each brick holds the one behind it down. Once you pack the dirt back in around the base, they become rock solid. We have had these borders for over a year, and they haven’t moved an inch.
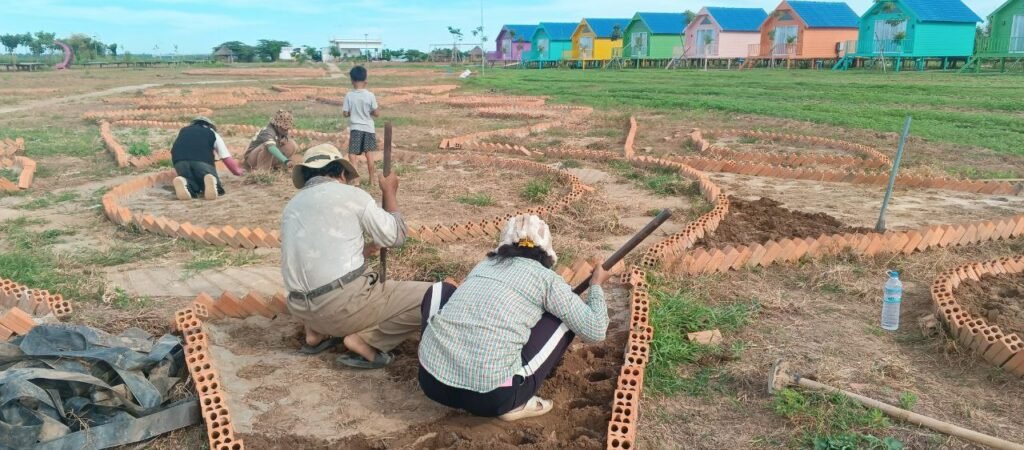
Step 3: Creating Shapes (The Team Effort)
The best part about this method is that it handles curves perfectly. Because the bricks are small and angled, you can make tight circles, stars, or winding paths without cutting any bricks.
We defined massive shapes—stars, circles, and hearts—using this method. With a small team, we covered hundreds of feet of borders in just two days.
The Realistic Budget Breakdown
Let me be honest about what this actually costs. Note that we are located in Southeast Asia, so local material costs (like bricks) are very affordable here, but the principles work anywhere.
For our garden borders (covering huge areas):
- Bricks: About $50 USD for several thousand reclaimed bricks.
- Cement: $0 (We didn’t use any!)
- Tools: Digging bar (already owned).
- Labor: 2 days of hard work.
Total Cost: ~$50
If you are in the US or Europe, look for “reclaimed bricks” or “seconds” (imperfect bricks) on Facebook Marketplace. Since you are burying half the brick anyway, they don’t need to be perfect!
Final Thoughts: Just Start Digging
The difference between a messy lawn and a “designed garden” is often just a clean edge.
You don’t need expensive stone or plastic edging that cracks in the sun. You just need a pile of old bricks and a free weekend.
So grab some bricks, sketch out a shape, and get started. Your dog (if you have one) will be happy to supervise.